
Microsoft Word is an unavoidable productivity tool for a lot of people. But whether you’re a daily user or only need it for urgent editing, some common tasks can become confusing.
If you often work with tables, we’ll show you how to get a better hold on table border lines in Word.
Depending on your choice, Microsoft Word lets you choose whether to customize your table or add it automatically. Each of these options has its own application and usefulness in various scenarios.
As expected, the automatic option offers limited initial control over your tables. But it’s useful if you want to get a table with several rows and columns working quickly.
The custom option comes in handy when you need to draft a more interactive table with personal twists.
So you’ve created a Word document, then sorted and arranged your pages as needed. You’ve also inserted your tables, but now you want to get a hold on how their border lines come through. There are several ways you can do that.
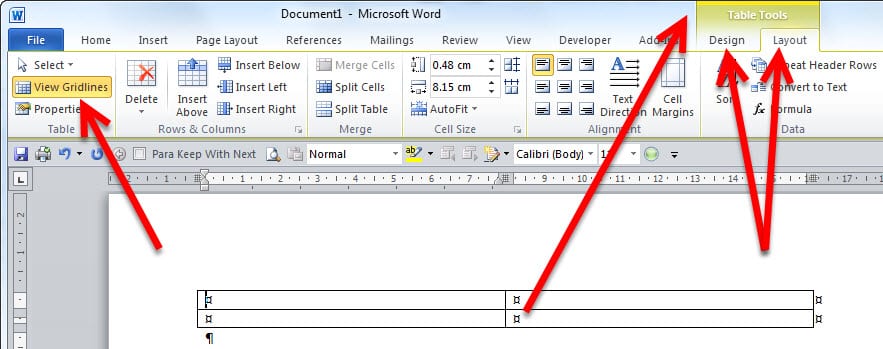
First off, the property that controls table border lines is the Borders option at the top Ribbon of Word. You’ll see this option under the Table Design tab when you highlight a table, but it’s always on the Home tab as well.
On the ribbon, go to Home > Paragraph and click the arrow-down button on the Borders button. Then select your preferred border line.

An alternative method is to right-click on the table you’ve created and click the arrow-down icon on the Borders button. Just like when using the Ribbon, use this to select a preferred border line option.
Note that if you highlight the whole table, any border line option you select applies to the entire table.

To apply the border line effect to a particular part of the table, highlight just that portion. Then repeat the process above to format the border lines to your preference.
You can also control how your border lines come through by adding border colors and thinning or thickening the lines.
To do that, click the Borders button followed by Borders and Shading. Here, select Colors or Width to change those elements.
You can also change the styling of the border lines by scrolling through the Style option in the Borders and Shading window.
If you want to apply these styles to particular cells in your table, highlight them first. At the bottom-right corner of the Borders and Shading window, click the Apply to dropdown and select Cell.

To style each border line manually without highlighting cells, right-click on the table. Next, go to Border Styles and select your preferred border option.

Another border control option is merging table cells. You can join two or more rows or columns by highlighting the ones you wish to join. Then, right-click on the table and click Merge Cells.
To split the merged cells into their default format, highlight the merged cells. Next, right-click on the table and click Split Cells.

Manipulating table border lines in Microsoft Word isn’t difficult. But you’ll need a sharp eye to make your tables more professional and good-looking.
Play around with some of the available options, and you’ll find a suitable border style for your document before long.