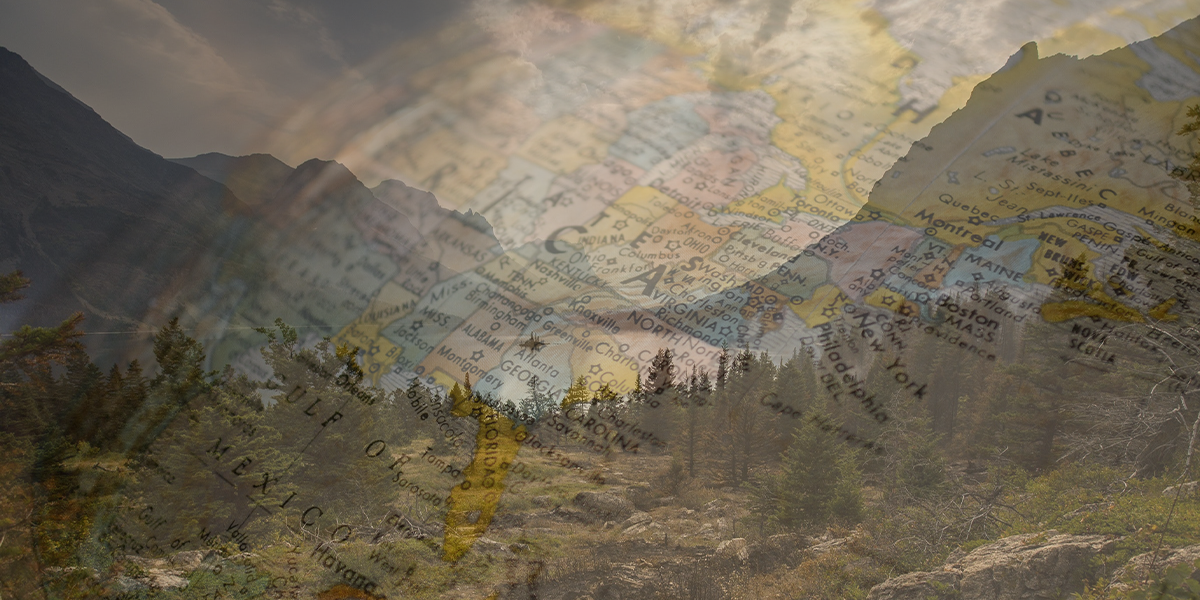
It’s easy to blend images using Photoshop. The blend tools in Photoshop allow you to mix the pixels of two images to correct them or obtain different types of effects.
In this article, we put together a guide to give you a better idea of how to blend images in Photoshop.
1. Use the Opacity Option
If you just started editing images and don’t know yet how to blend two images in Photoshop, the simple answer is to adjust the layer’s opacity. Here’s how you can do that:
- Add the images to two separate layers.
- Open the Layers menu.
- Select the top layer and click Opacity.
- Use the cursor to control the level of opacity. By default, the level is set at 100 percent.
By using a smaller value, the first layer becomes transparent and the second layer starts to become visible. For example, if you set the opacity level to 60 percent, it means you are blending 60 percent of the top image with 40 percent of the image used as the bottom layer.
You can set the level of opacity using keyboard shortcuts. For 10 percent opacity press one, for 20 percent opacity press two, and so on. You can even set more specific values by quickly pressing two numbers together, such as four and five, for 45 percent opacity.
2. Use Blend Modes
When it comes to blending layers in Photoshop, Blend Modes represent a more complex solution than setting the layer’s opacity. Using Blend Modes, you can set multiple ways that layers interact with each other.
Here’s how you can do it:
- Place the images on two different layers.
- Click the Layers tab.
- Click the Blend Mode dropdown menu in the Layers panel, and select the Blend Mode that you want to use.
By default, the layer’s blend mode is set to Normal. This means there is no blending between the layers.
Two of the most popular blend modes are Multiply and Soft Light. While Multiply produces a darker effect, Soft Light increases the contrast. Once you have selected the Blend Mode you want, you can adjust the result by changing the opacity level to make it look better.
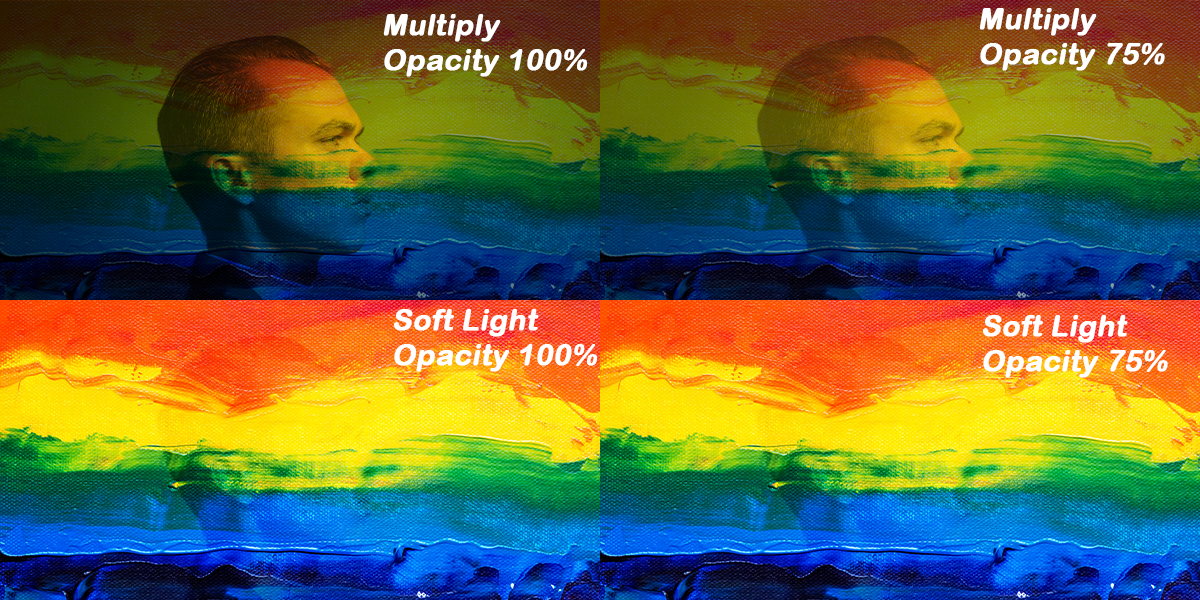
If you want to try multiple Blend Modes quickly to see which one fits better, you can use keyboard shortcuts. Select the Move tool by pressing V. Then, press and hold Shift while pressing + or – to quickly navigate up or down through the Blend Modes list.
3. Use a Layer Mask With the Gradient Tool
Unlike the Opacity option or using a Blend Mode, a layer mask allows you to control exactly where the two layers blend together. Here is how you can add a layer mask:
- Click the Layer tab.
- Select the top layer.
- Click Add layer mask. A mask thumbnail will appear next to the layer’s preview thumbnail.
The layer mask allows you to set different levels of transparency in certain areas of the layer by using black and white pixels. The layer areas filled with white will remain visible and the areas filled with black will be hidden.
Now that you’ve created a layer mask, you’ll want to use the Gradient tool to smoothly blend both images together. Follow these steps to get started:
- Select the Gradient tool.
- Open the Gradient dropdown menu at the top of the screen.
- Click the Black, White gradient.
Once you’ve set these colors for your gradient, select the layer mask by clicking on its thumbnail, and drag on the layer to create a black-to-white gradient. Don’t forget that black will hide that layer’s area, and white will keep it visible.
The gradient starts with black and ends with white, so if you want to keep the right side of the layer, start dragging from the left side and vice versa.

If you want to take a closer look at the gradient, press Alt and click the layer mask thumbnail. Also, you can enable or disable the layer mask by pressing Shift and clicking the layer mask thumbnail. When the layer mask is disabled, a red X is placed over the thumbnail.
4. Blend Colors for a Smooth Transition
If you are creating a design from scratch and need a blending tool to create a smooth transition between areas with different colors, you can use the Mixer Brush tool.
Here is how you can do it:
- Open the Brushes menu.
- Select Mixer Brush tool.
- Click and hold while moving the brush between the intersection area of the two colors. Usually, it works better if you move the brush from the darker color to the lighter color.
Since the Mixer Brush Tool is quite complex, take your time and experiment with its different settings, such as Load the brush after each stroke, Wet, Flow, or Mix.
Learn How to Blend Better in Photoshop
No matter if you are a rookie or a pro when it comes to image blending, Photoshop gives you the right tools. The trick is to be patient and try multiple settings for each tool to see which one works better.