There is no denying that the Anycubic Vyper has made shockwaves around many 3D printing communities. It’s a fantastic entry-level FDM (fusion deposition modeling) printer with some superb features. But to appreciate the good, you have to embrace the not-so-good. With the Vyper, this not-so-good comes in the form of auto-leveling issues.
But fear not! Today, we’re going to help you solve those auto-leveling issues and charm this snake back into submission.
What Causes Auto-Leveling Issues With the Anycubic Vyper?

During our review of the Anycubic Vyper, we found a few kinks in this printer’s leveling process. After a bit of research, it appears that our experience wasn’t isolated.
It seems that the main component responsible for leveling issues with the Vyper is the strain gauge that supports the volcano-style hot end of the unit. In our images, it’s the black-Y-shaped support attaching the hot end components to the bracket on the gantry.
If you’re not familiar with strain gauges, essentially, they are sensors whose electrical resistance varies as force is applied. In the case of the Vyper, this gauge determines when the nozzle is contacting the bed surface. Unfortunately, the strain gauge on the Vyper is soft metal, which can be tweaked if the mechanical downward force on the nozzle is too great.

In our experience, the strain gauge isn’t the only issue that causes the Vyper’s auto-leveling to not function. Because the printer is dealing with tight tolerances, the slightest shift in the hot end components can also cause concerns.
For example, we found that if the heater block on the unit wasn’t completely level, then the Vyper would press the nozzle down into the bed with extreme force causing even more pressure on the strain gauge. With such a delicate component, every pound per square inch matters.
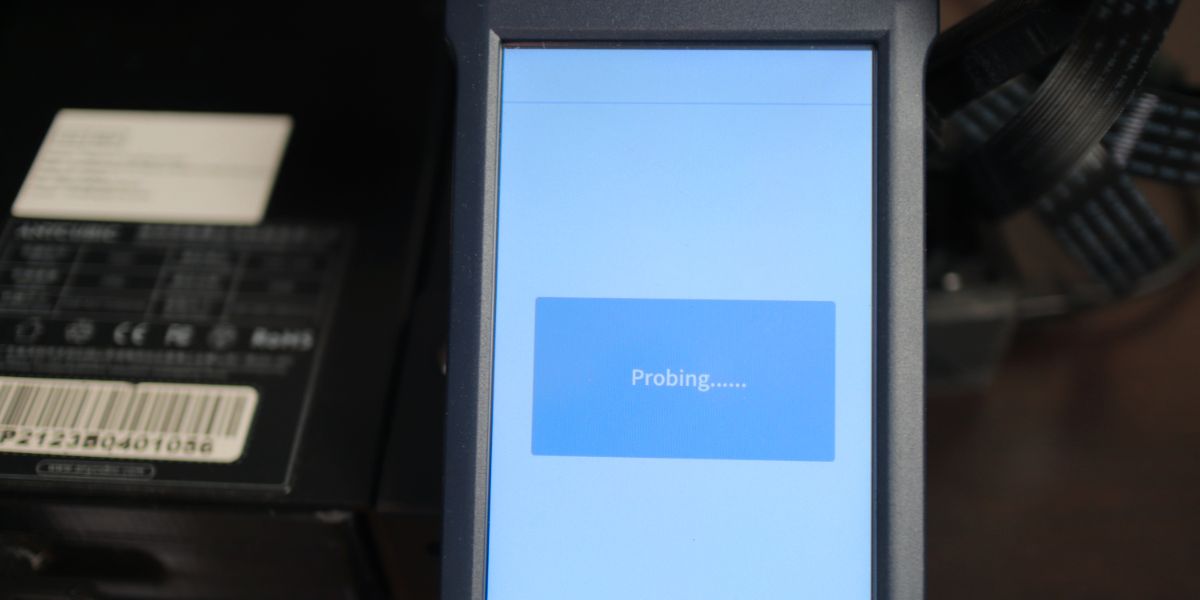
Additionally, if the bed on the unit isn’t adjusted properly, or if any component has a wobble, the strain gauge won’t register correctly, and auto-leveling will hang. Three dreaded beeps denote this hanging before the LCD reports “Probing…” indefinitely.
Troubleshooting the AnyCubic Vyper’s Auto-Leveling
If you’ve experienced those beeps or had the nozzle gouge your print surface during a print, then you’ll know how frustrating this issue is to troubleshoot. But there are ways to get the Vyper working correctly.
Disclaimer: If you take your Vyper apart, you very well may void the warranty. So, before you attempt any of these steps, you should contact Anycubic for support if you are within the warranty period. Additionally, 3D printers are delicate machines, and disassembly can cause irreparable damage if you’re not careful. Therefore, if you undertake this project, you do so at your own risk. If you’re not comfortable, then now is the time to stop and consult a professional.
Step 1: Return the Bed and Hot End to the Home Position
The first step in fixing this issue is to send the hot end and bed back to the home positions. Do this by turning the unit off, then on. Then, on the LCD, navigate to Tools > Move Access > Home All.
When you do this, the hot end should slide along the gantry into the home position, and the bed should move to the rear of the printer. At that point, turn off your Vyper. Setting everything in the home position will make bed adjustments and the lower guide wheel adjustment on the hot end much more manageable.
Step 2: Adjust the Build Surface

Using just hand pressure, try to move the bed downward slightly. You shouldn’t feel any wobble when you do this. If you do, then that is an indicator that your bed needs to be adjusted.
To adjust the bed, you can use the supplied large open-end wrench. If you’re facing the unit, you’ll notice two hex axles above each of the printer’s guide wheels on the right underside of the bed. These hex axles will allow you to raise or lower the bed to remove any slack. Turn the axles clockwise.
Start by only rotating the screws one-quarter turn and then apply pressure to the bed surface. Do this in one-quarter or one-half turn increments, rechecking the bed frequently until the wobble stops.
Additionally, pull the bed forward while making this adjustment and test the bed in different positions. Using this method, you should be able to remove any play. Once complete, you’ll turn to the hot end.
Step 3: Adjust Hot End Wobble

Like the bed, the hot end of the Vyper shouldn’t have any wobble. Grab the outer shell and lightly try and rotate the bottom portion toward the top. It should be tight. If you feel any play, you’ll need to adjust the hot end until it’s gone.
You may be tempted to use a wrench on the top guide wheels to do so, but that’s not the correct way to adjust this unit. Instead, use the large end of the provided open-end wrench on the hex axle of the bottom guide wheel.
If you’re facing the front of the unit, you’ll rotate counter-clockwise to tighten and clockwise to loosen. Tighten until you’ve rid the hot end of any wobble, but don’t overdo it. Tiny adjustments are all you need here, and the guide wheels are delicate. Too much torque will wear them out quickly.
Step 4: Adjust the Strain Gauge, Nozzle, and Heater Block

Finally, check that the heater block and strain gauge are level with the bed surface. You may have to remove the plastic cover from around the hot end to see the strain gauge, but look closely at the heater block before you do.
Is it level? Does it look crooked when facing the unit from either the front or the side? If so, use a 12mm open-end wrench to straighten it out slightly. Often, straightening will prevent the need to adjust the strain gauge. But be gentle here. If you adjust something too much, you might damage the hot end.

While you’re there, check the nozzle as well and make sure there isn’t any damage to it. High pressure on soft brass can sometimes warp the nozzle opening. If you find there’s an issue, you might have to change the nozzle before continuing.
You now have two choices. First, if you find you’ve made a significant adjustment and you don’t want to take apart the hot end, you can try to rerun auto bed-leveling. Just be aware that if the process doesn’t work and the hot end gets pressed into the bed, you might have to repeat these steps.
If, instead, you’re keen on checking the strain gauge for damage, then remove the hex-head bolts and data cable from the hot end. Next, remove the zip tie securing the data wire, but make sure to replace it with a new one when you’re finished.

Once you’ve got everything apart, take a picture of the connections. Then, remove the two screws and all of the wires attaching the heating components directly above the hot end circuit board.
From there, remove the heating components and examine the black strain gauge. Does it look warped or bent? Does it hold the hot end level? If not, then you can try to adjust the gauge slightly.
Remember, though, this is a delicate component, so go easy. If there is too much bend or other signs of damage like flaking paint or burnt wires, you need to contact Anycubic.
Step 5: Reinitiate Auto-Leveling
The last step in this process is to put everything back together and restart auto-leveling. If you’ve done things correctly, then auto-leveling on the Vyper should complete without any issues. Once finished, you can start test printing. Unfortunately, if you’re still having problems, then you should contact Anycubic directly for additional help.
Enjoy Your Auto-Leveled Anycubic Vyper
The Anycubic Vyper is an excellent printer, but if you’ve experienced any auto-leveling issues, then you’re probably pulling your hair out. But with this handy guide, you can solve most auto-leveling woes without the hassle of shipping the printer back to the manufacturer.